
Adding Websites
Users are not limited to the amount of websites they can add. Adding a new website is very simple, just follow the steps below.
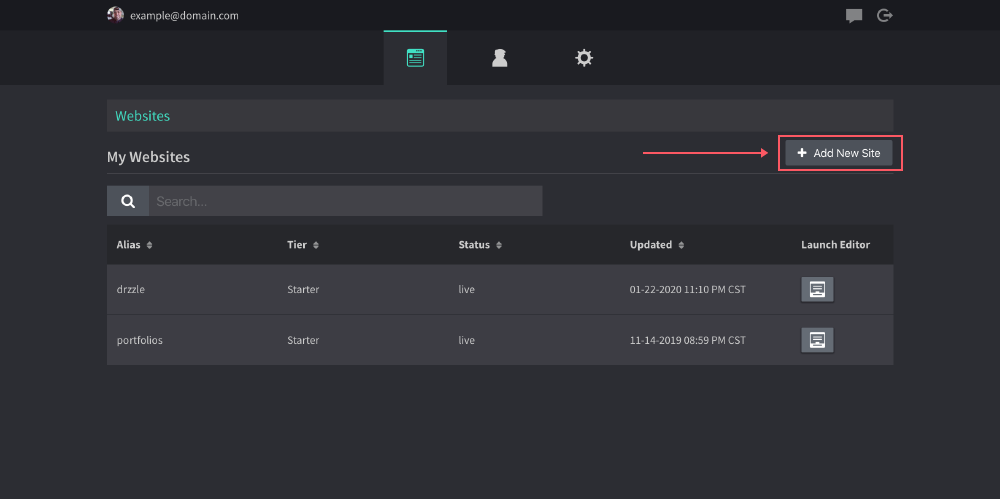
Navigate to the admin panel and to the websites tab.
Click on "Add New Site"
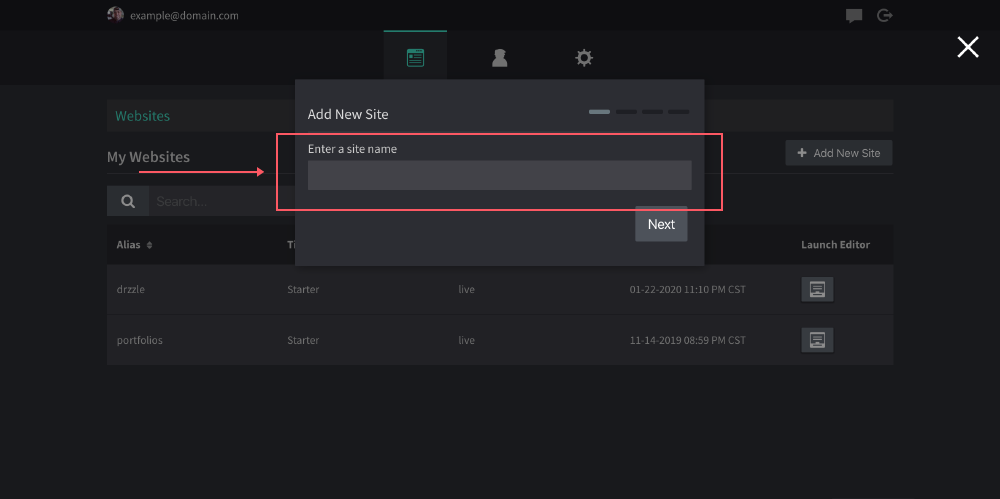
- Fill in your new site name and click "next"
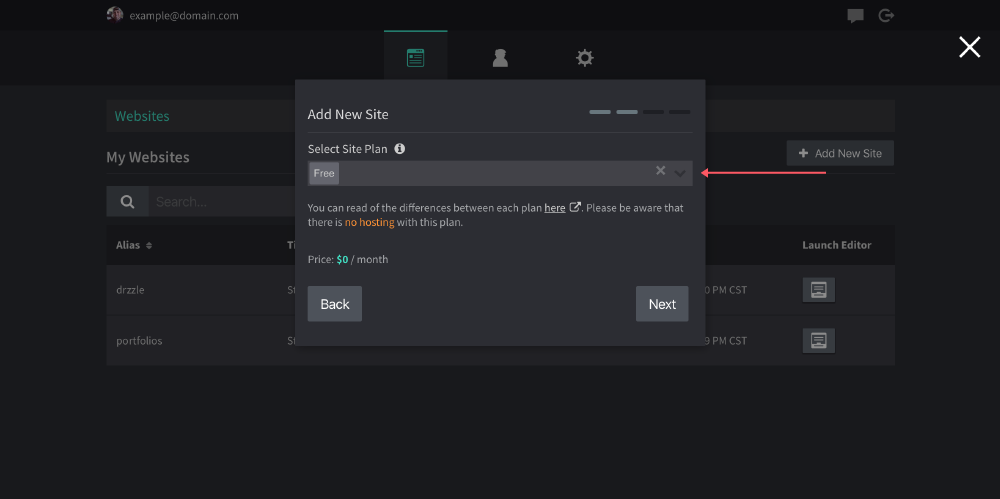
- Select the plan option for this site (free, starter or premium). You can read of the differences here.
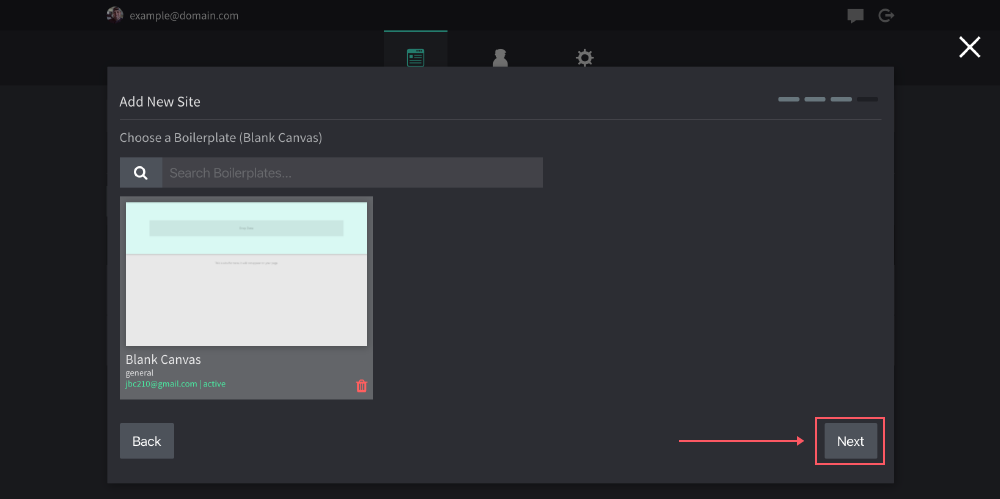
- Select a boilerplate to start from then hit "next".
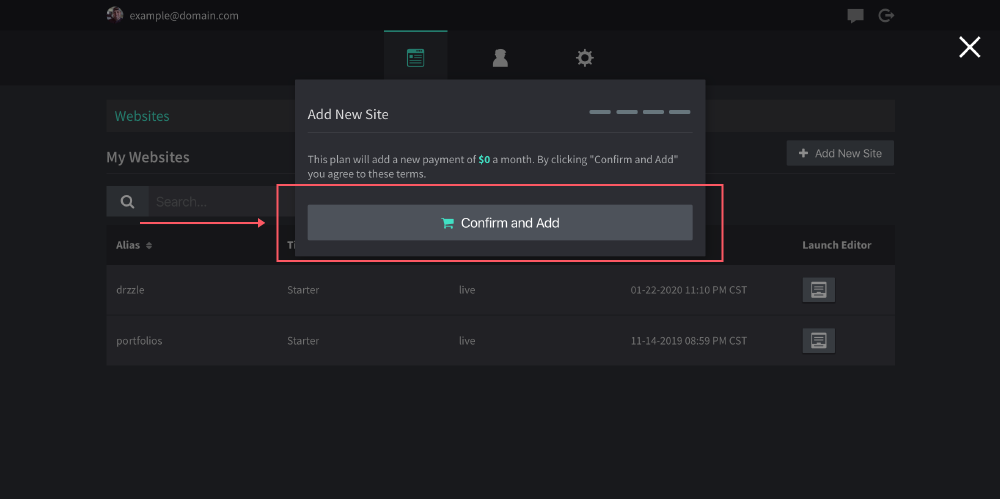
- Finally, you will see a confirmation message before you agree to proceed. The message will depend on if there is an additional charge or not.
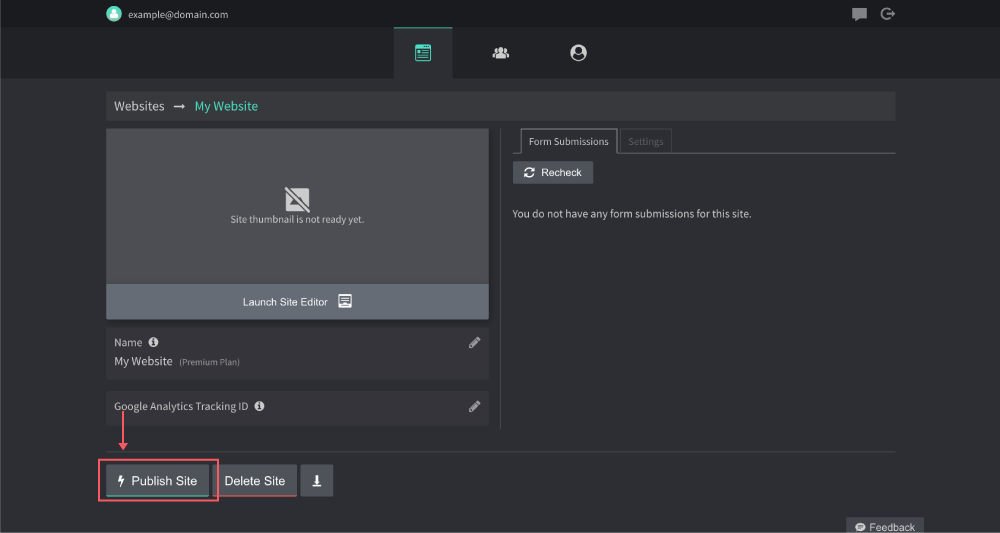
After this, you should launch right into the site's settings view. From there you can edit basic global settings and you can also launch the drag and drop site editor.
Publishing
Your website should have the default "construction" page until you first hit the "Publish Site" button as seen below.
If you are on a hosting plan, your site files will automatically be uploaded and updated each time you use any publish buttons within the admin panel or editor.
If you are on a non hosted plan, You can download your site files using the download button on this same screen. You can also use "Publish Webhooks" to automate file uploads to your own servers! Read more on that here.